EPA Request Reviewer Guide
Log-in and View Employee EPA Requests
- As a supervisor (i.e., Dept Chair), you will receive an email notification informing
you that one of your employees has submitted an EPA Request. As the initial recipient
of the request, you will review, then enter a recommendation to either approve or
deny, and Route it to the second-level reviewer (your supervisor, i.e., the college Dean).
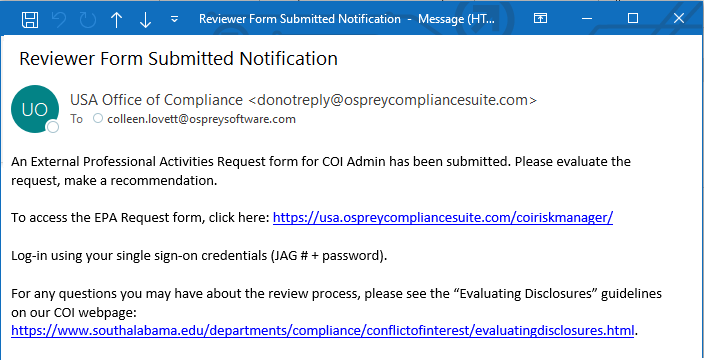
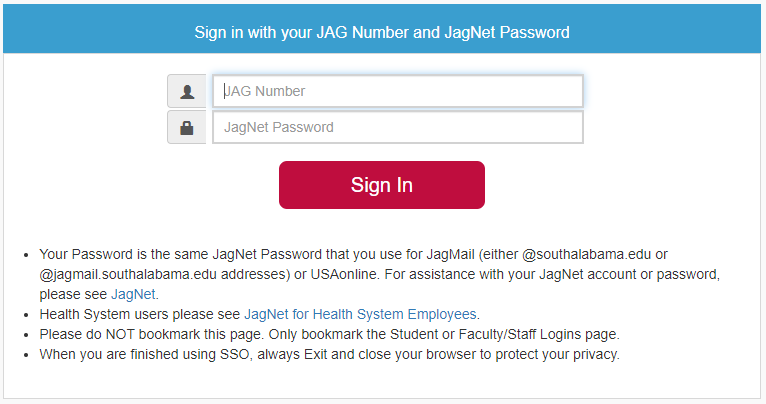
To access the system, go to the link provided in the email and log in with your JAG Number.
- To view the EPA Requests that require your review, click on Review Disclosures on the left navigation pane. This will bring you to the Review Disclosures Page.
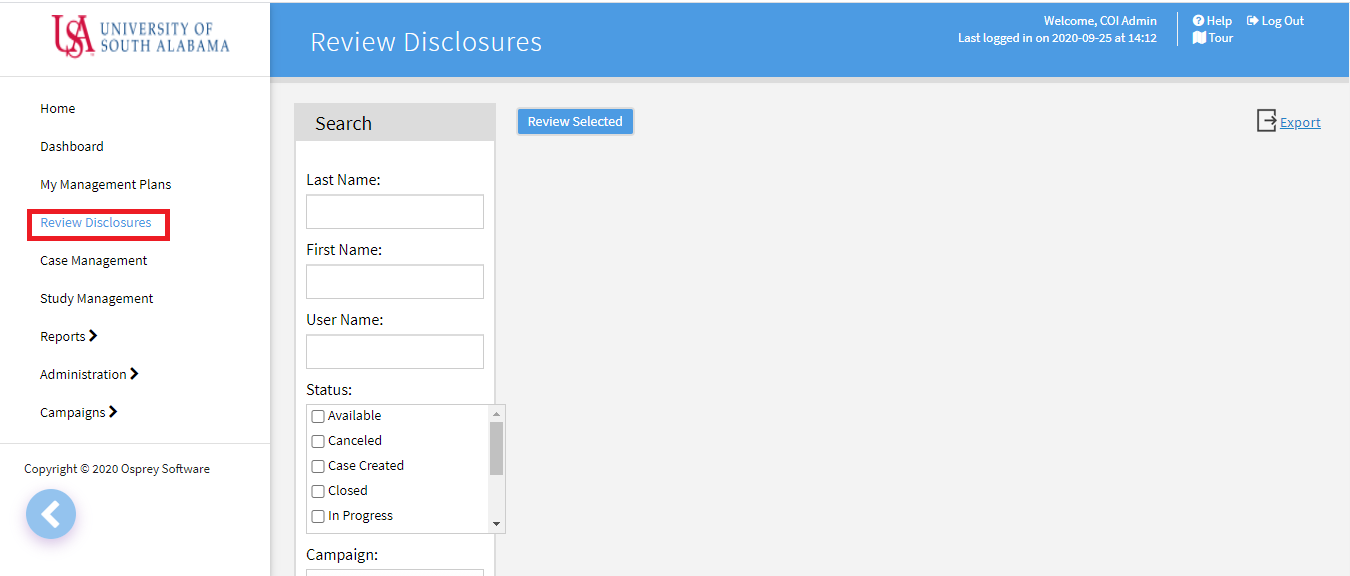
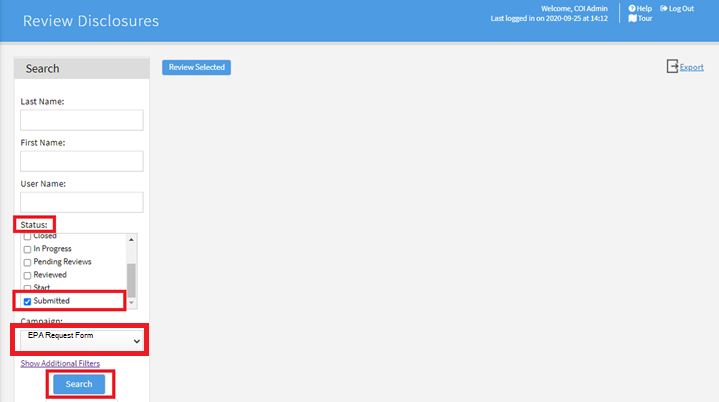
- Using the Search pane on the left of the page, select the Submitted option in the dropdown selection under Status, then select EPA Requests from the Campaign dropdown menu. Then hit Search. (per diagram below)
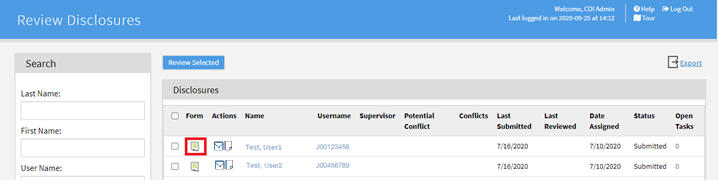
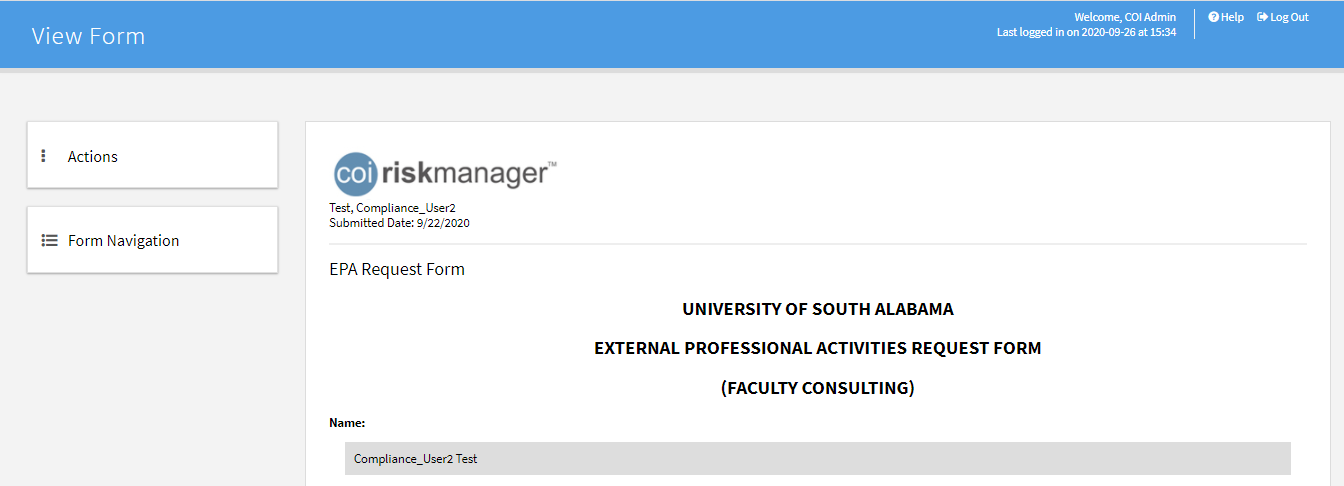
- To view an EPA Request, click on the form icon. This will bring you to the View Form
page where you can see the request.
Review the EPA Request and Make a Recommendation
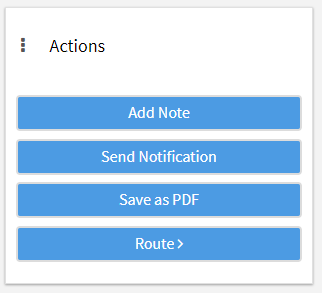
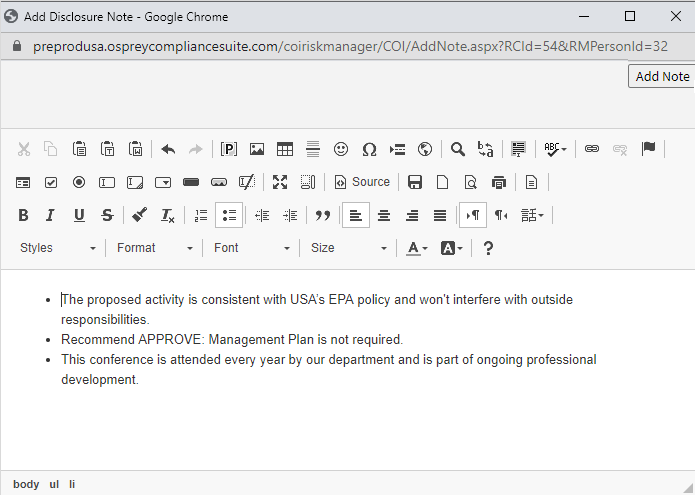
- Review the EPA Request Form. Click the Actions menu and click Add Note to begin documenting your recommendation.
- In the body of the note, provide the following information:
- Policy Compliance – Is the proposed activity consistent with USA’s External Professional Activities policy or other related policies (as applicable)?
- Institutional Responsibilities – Will the proposed activity interfere with the individual’s USA responsibilities?
- EPA Recommendation – Indicate one of the following recommendations:
- Recommend APPROVE: Management Plan is not required
- Recommend APPROVE: Action items required – No Management Plan
- Recommend APPROVE: Management Plan is required
- Recommend DENY: The EPA request is denied
- Rationale and/or Recommended Actions – Explain the reasons why you are recommending the request be approved or denied.
Additionally:
- For APPROVED requests with recommended actions, document them here.
For APPROVED requests with a required Management Plan, indicate it here, and see the Management Plans section (scroll down) for instructions on creating a proposed management plan and attaching it to the EPA Request form.
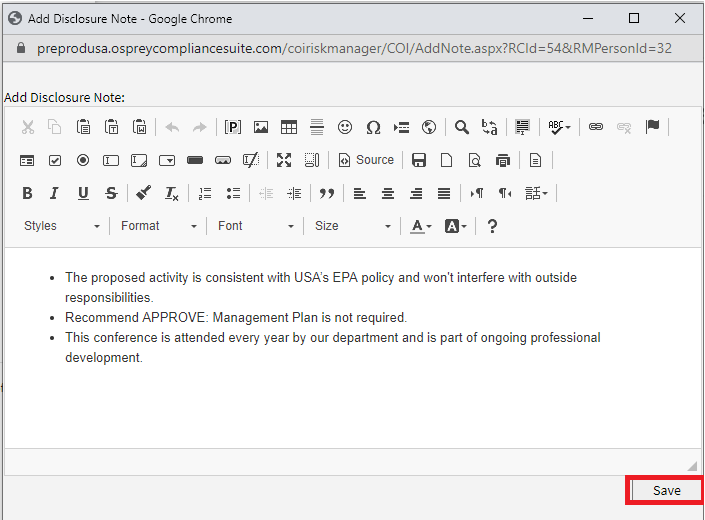
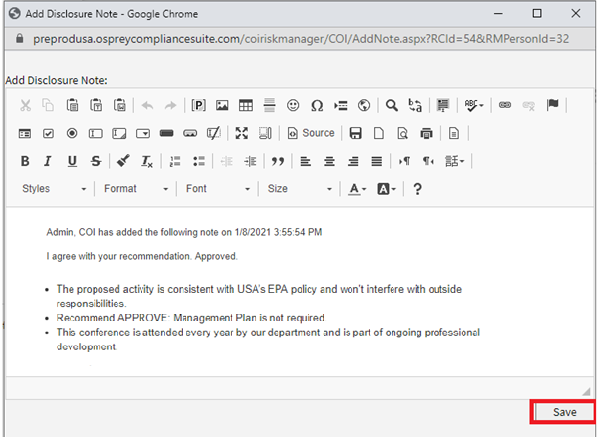
Click Add Note to enter the above-requested information.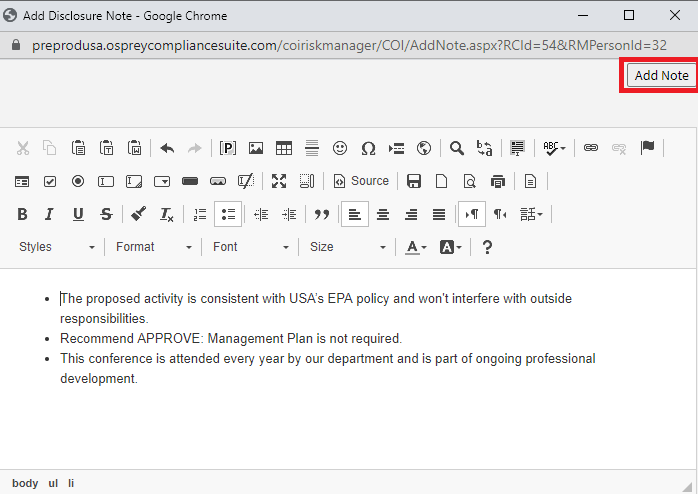
Click Save to save your recommendation
- If you want to contact the requester for additional information, you can send them a notification directly from COI Risk Manager. See the Send a Notification to the Requestor section (scroll down) for instructions.
Route the EPA Request for Approval/Denial
- After documenting your assessment and recommendation in the form, route the EPA Request
form for sign-off by your supervisor, or second level reviewer authorized to approve
or deny the request (i.e., your Dean).
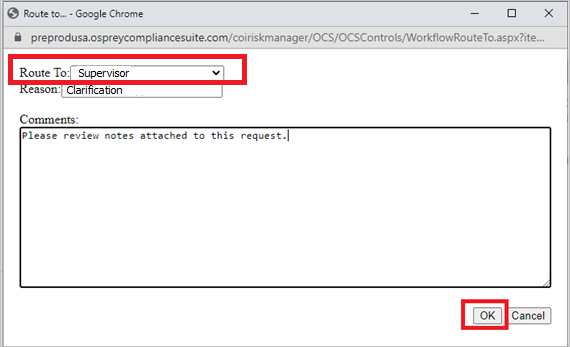
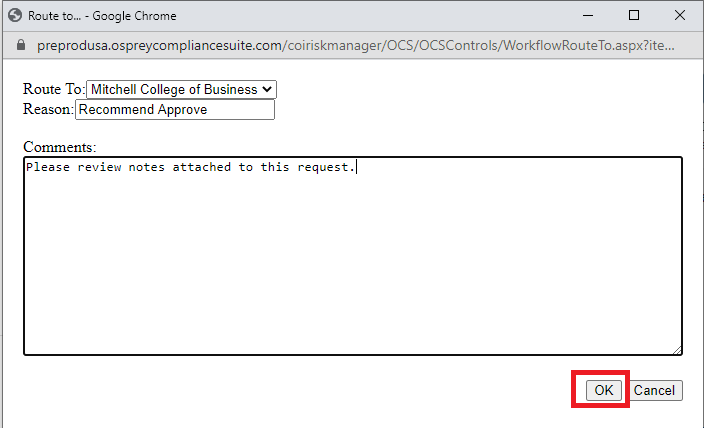
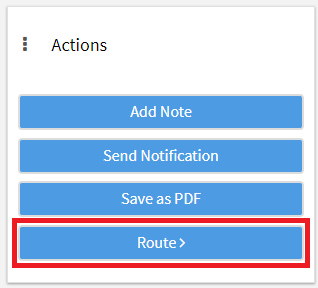
To route the EPA Request form, click Route under the Actions menu.

- In the Route to dropdown field, window, Select the name of the Dean or office responsible for signing off on the EPA
request. Fill out the Reason, and enter Comments (i.e., “please see my Note"). Click OK to route the request.
- When the second-level reviewer (i.e., Dean) approves or denies the EPA Request, an
email notification will be automatically sent to the requester indicating whether
the request was approved or denied. If the second level reviewer requires the initial
reviewer (Dept Chair) to provide further information on the request, they may Route the EPA Request back to the initial reviewer for further assessment. In this case,
the initial reviewer will receive an email alert prompting them to review the routed
information from the second-level reviewer.
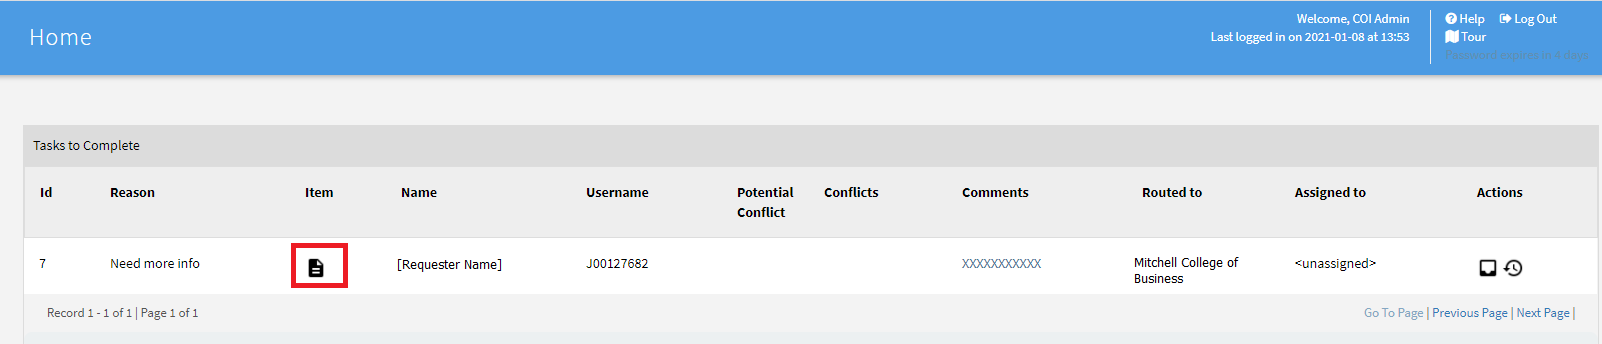
- To respond to inquiries from the second-level reviewer, follow the email instructions:
log in to the COI system and navigate to your COI Home page. Under Tasks to Complete (top bar on your Home screen), one or more tasks will be listed. Click on the icon in the Item column to access the form requiring your review:

-
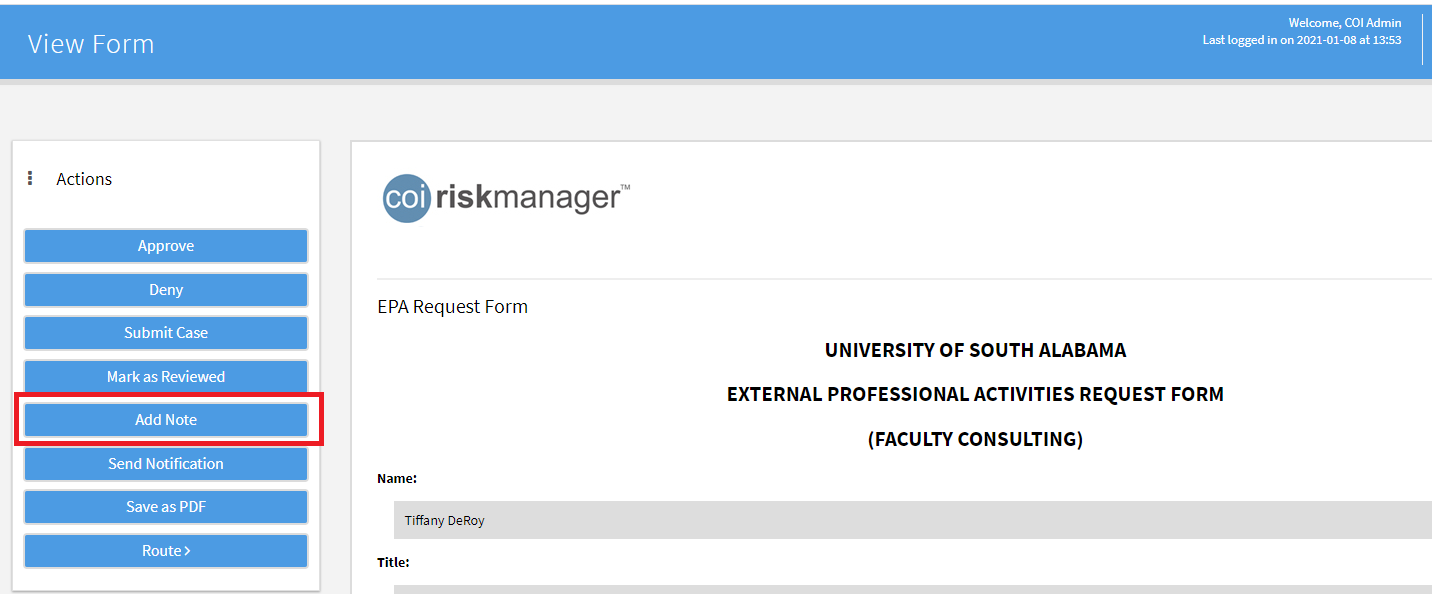
From within the form click on Add Note under the Actions menu to view the note from the second level reviewer. The first-level reviewer should then document any final information for the second-level reviewer via Add Note.
Send a Notification to the Requester
When an EPA Request is Approved or Denied, an email notification will automatically be sent to the requestor from the COI Risk Manager system indicating the final determination. But there are some instances where you may want to email the requester, for example:
- A management plan or action items are required for the request to be approved.
- Additional information is needed from the requester to make your recommendation.
- Requiring the requester to update their EPA request Form in COI Risk Manager.
- Inform the requester of any conditions of approval related to their request, such
as action items or a management plan.
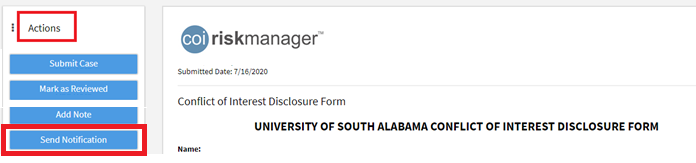
- To send a notification to the requester, click on Actions and then Send Notification:
- In the Notification window select the following fields:
- To: - Make sure that User is selected here.
- CC: - You may enter the email address of additional recipients or leave this blank.
- Notification Type: - Select the email template that best fits the purpose of your email, such as Additional Information Needed.
- Subject and Body: - Use the default text, or customize the message as needed.
Click Send Mail to send the notification to the submitter. Note that if the submitter responds to your email, you will receive it in your USA email Inbox, not in the COI Risk Manager System.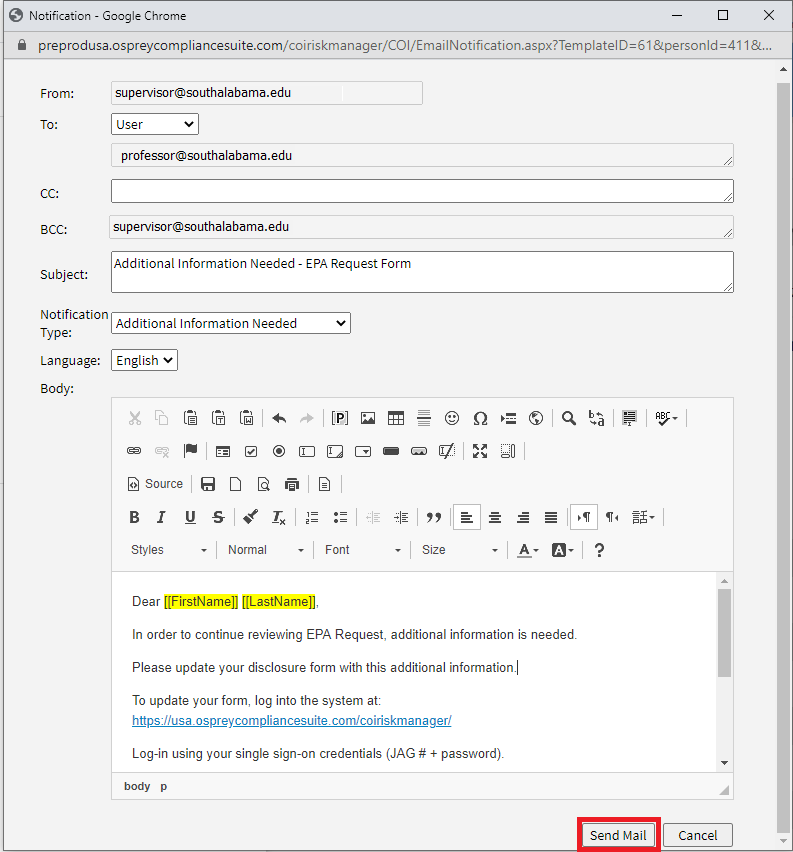
Management Plans
If a management plan is required, the first level reviewer should:
- Go to the USA Conflict of Interest website at: https://www.southalabama.edu/departments/compliance/conflictofinterest/management-plans.html
- Under Management Plan Templates download one of the following templates:
- External Entity Related to Research
- External Entity Related to University Duties
- Familial Relationship in Sponsored Research
- Management Plan for Human Subjects Research
Note: Save your proposed management plan to your computer as an MS Word document.
- After creating your proposed Management Plan, return to COI Risk Manager and navigate to the Review Disclosures page. Using the Search panel on the left of the page, enter the requester’s name
and select the Submitted option in the dropdown selection under Status, then select EPA Requests from the Campaign dropdown menu. Then hit Search.

 Click the paperclip icon to attach the management plan to the EPA Request Form.
 Click the icon to add any additional notes to the request.
- Click Route to notify your supervisor (the second-level reviewer) that the proposed plan is ready for review. See the Route the EPA Request for Approval/Denial section (scroll up).
Second Level Reviewers Only: Approve or Deny an EPA Request
- If you are authorized to approve or deny EPA Requests within your division, college,
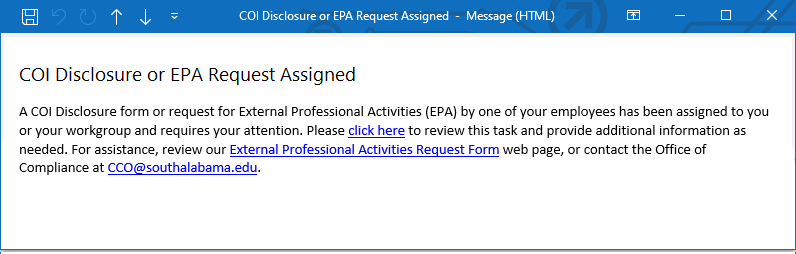
or office, you will receive an email notification indicating that a COI disclosure
or EPA Request is awaiting your attention in the COI system:

- Per the email instructions, log in to the COI system and navigate to your COI Home Under the section Tasks to Complete, one or more tasks will be listed. Click on the icon in the Item column to access the form requiring your review:
- View the EPA request form, then from within the form click on Add Note (in the Actions menu) to view the recommendation from the requester’s supervisor
(first-level reviewer). The Add Note feature allows you to either (1) review existing notes ("View Current"), or (2) enter
a new note ("Add Note").
- If you wish to add additional notes, click Add Note, and type your comments in the space provided.

- Click Save to save the note with the request, then click the X in the upper right-hand
corner of the box to return to the request form.
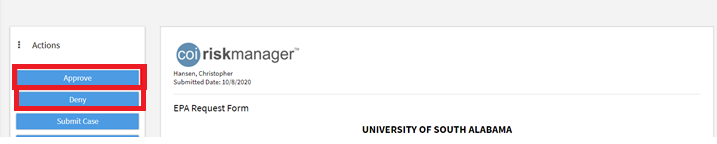
- If you are ready to approve or deny the request: click the Approve or Deny button on the form. An email notification will be automatically sent from the system
letting the requestor know the status of their request.
- If you want to provide feedback or request additional information from the requester’s
supervisor: Document your question in the notes (see step 4 above). Then click OK.
- In the Route to window, select Supervisor and complete the Reason and Comments (optional) sections. Then click OK. When the supervisor has completed the extra review or provided the additional information
you have requested, you will receive another email notification as described in step
1 above.